When I first encountered drypoint printmaking, I was captivated by its unique blend of simplicity and depth. This technique, which involves incising a design onto a plate, creates rich textures and striking lines that truly stand out. Unlike other printmaking methods, drypoint offers an intimate connection between the artist and the medium, allowing for spontaneous expression and creativity.
As I delved deeper into the world of drypoint, I discovered its fascinating history and the transformative impact it has had on printmaking. From the early masters to contemporary artists, this method continues to inspire and challenge creators. Whether you’re a seasoned artist or just starting your journey, exploring drypoint printmaking can open up a whole new realm of artistic possibilities.
- Understanding Drypoint: Drypoint printmaking involves incising designs directly onto a plate, creating rich textures and striking lines that enhance artistic expression.
- Tools and Materials: Key tools include the burin for incising, scrapers for smoothing, and high-quality plates like copper, zinc, acrylic, and plastic to achieve desired effects.
- The Process: The drypoint process includes selecting a plate, incising the design, applying ink, and pressing the plate to create unique prints that can differ with each impression.
- Artistic Applications: Drypoint is versatile and can be used in various artistic styles, often combined with other printmaking techniques for enhanced texture and depth.
- Historical Significance: Originating in the early 15th century, drypoint has evolved through notable artists, ensuring its continued relevance and innovation in contemporary art.
- Experimentation and Community: Engaging with the medium through experimentation and joining printmaking communities can foster creativity and improve techniques in drypoint printmaking.
Drypoint Printmaking
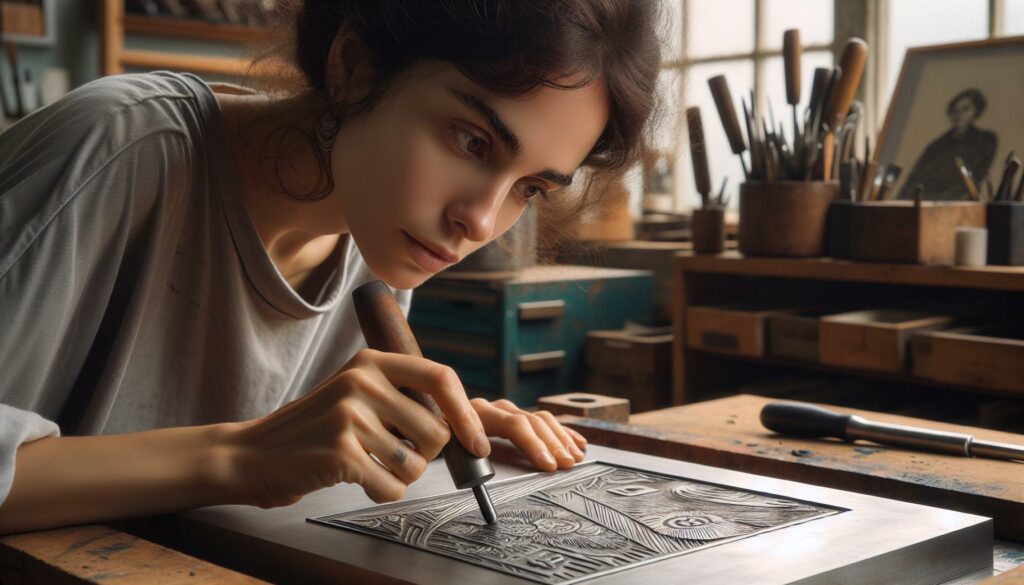
Drypoint printmaking involves incising designs directly onto a plate, typically made of metal or acrylic. I create lines using a sharp tool, known as a burin, which forms raised edges that trap ink. The resulting prints showcase rich, textured qualities, creating a distinct aesthetic that fascinates artists.
The process begins with preparing the plate. I clean the surface to remove any debris before sketching my design. Afterward, I use the burin to engrave, responding intuitively to the plate’s character. Multiple prints can emerge from a single plate, though each impression may differ, owing to the manual inking process and the inevitability of wear on the plate.
Historically, drypoint has roots in the early 15th century, with artists like Albrecht Dürer popularizing the technique. Contemporary artists continue to explore its possibilities, merging traditional methods with modern themes. As I engage with this medium, I discover a deep connection to both my subject matter and the printmaking process itself.
Techniques And Materials
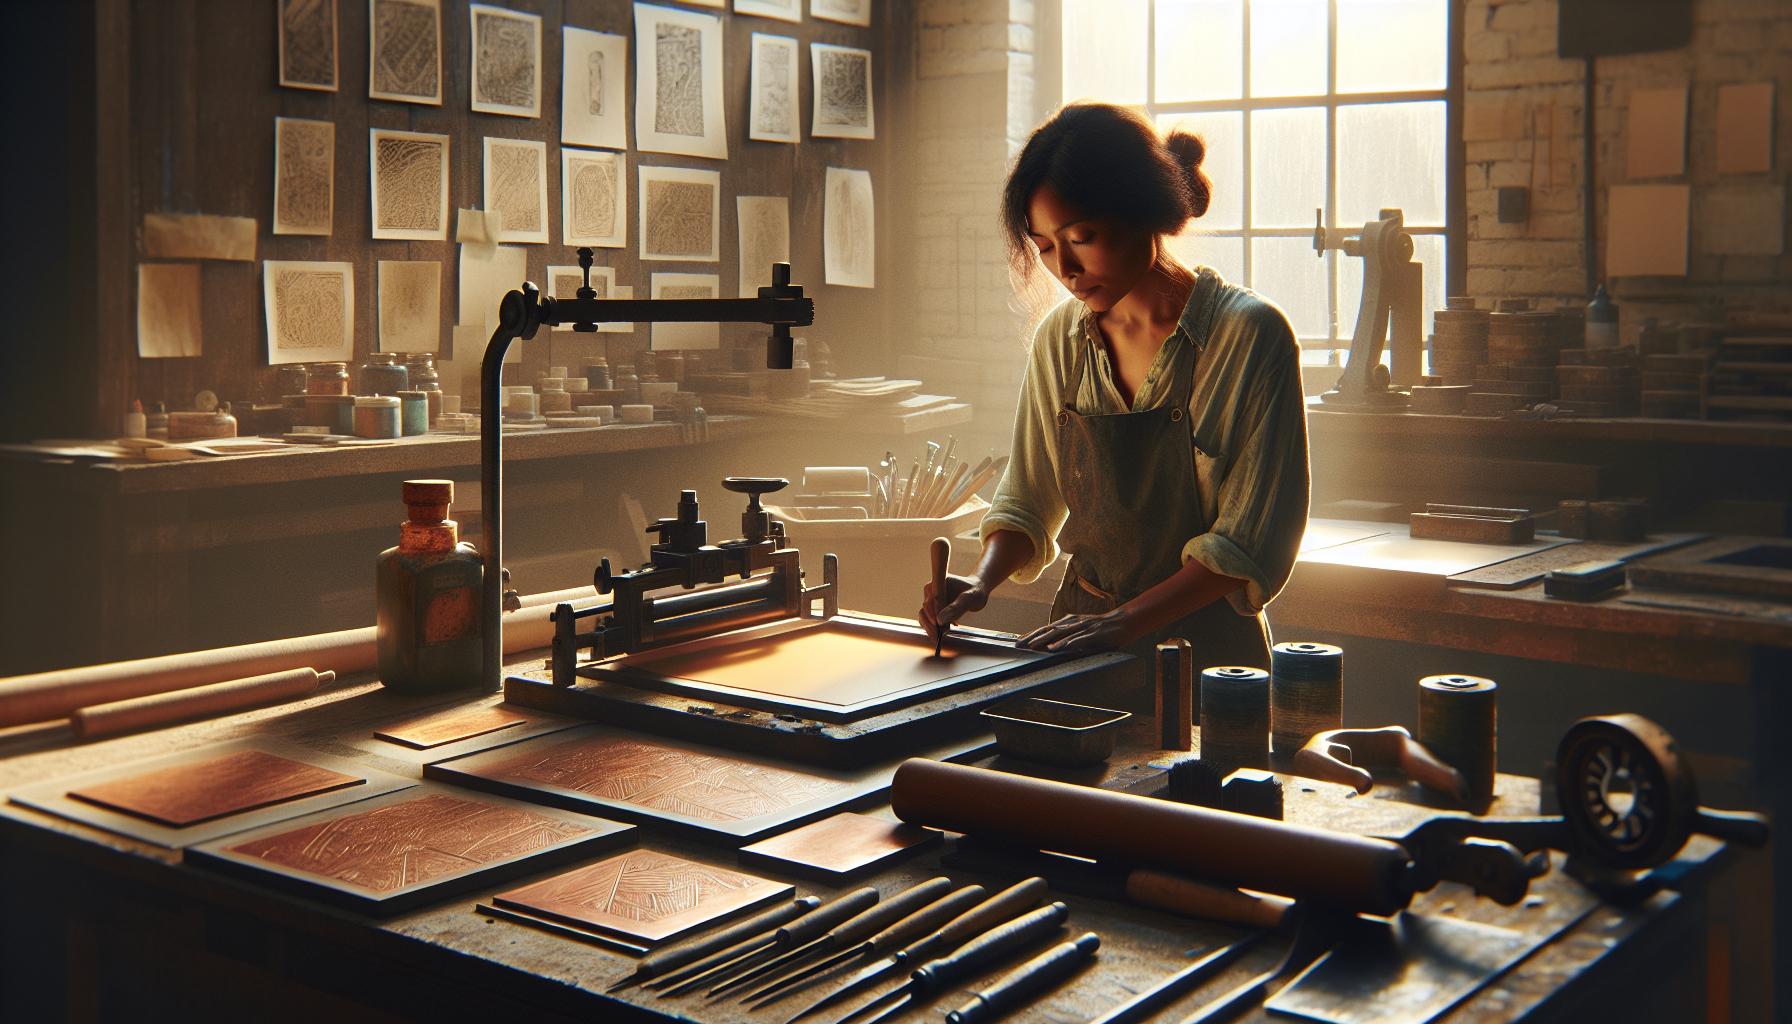
Understanding the techniques and materials of drypoint printmaking enhances the creative process. Knowledge of the tools and plates helps achieve desired artistic effects.
Tools Used In Drypoint
- Burin: A sharp, pointed tool used to incise designs on the plate; its precision allows for fine detail.
- Scraper: A tool that smooths areas of the plate, helping control ink distribution and achieving varied textures.
- Inking Rollers: Rubber rollers used to apply ink evenly across the plate’s surface.
- Baren: A flat disk used to press paper against the inked plate during the printing process, ensuring even transfer of the design.
- Paper: Quality paper, such as printmaking paper or smooth cardstock, absorbs ink well for optimal results.
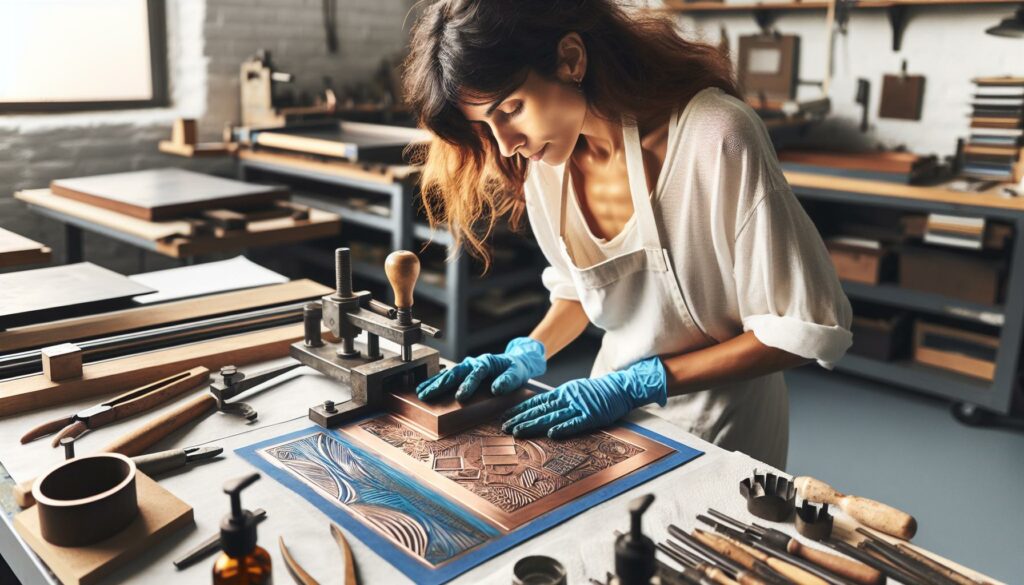
- Copper Plates: Preferred for their softness and ability to hold fine detail; they produce rich, high-quality prints.
- Zinc Plates: Lighter and less expensive than copper, zinc is often used for experimentation and teaching.
- Acrylic Plates: Common in contemporary drypoint, acrylic offers a versatile surface that can be easily cut and manipulated.
- Plastic Plates: Affordable and user-friendly, they cater to beginners and allow for quick, spontaneous creations.
Familiarity with these tools and plate types enhances the drypoint experience, ensuring the prints reflect personal artistic expression.
The Drypoint Printmaking Process
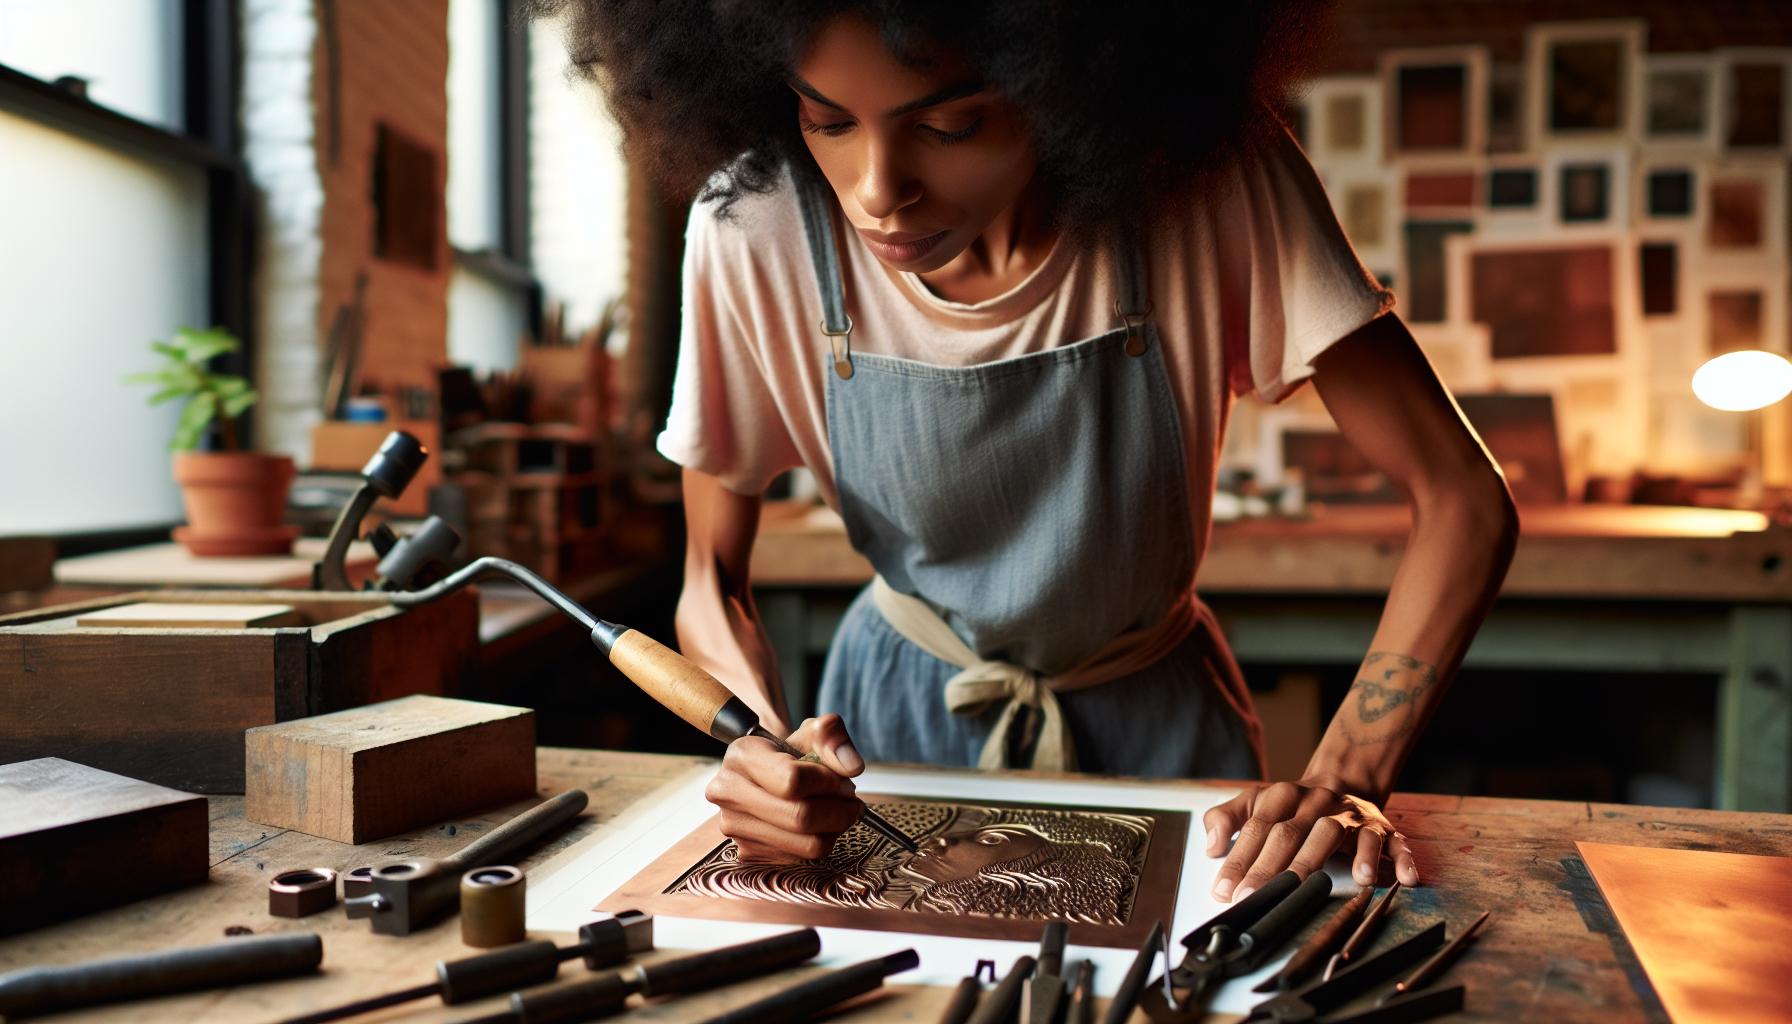
The drypoint printmaking process involves several straightforward steps that result in unique and textured prints. Mastering these steps enhances the creative outcome while allowing for personal expression.
Step-by-Step Guide
- Select a Plate: Choose a plate made of metal or acrylic based on desired effects. Copper offers fine detail; zinc allows for experimentation; acrylic provides versatility; plastic ensures affordability.
- Incise the Design: Use a burin to carefully incise your design onto the plate. Apply varying pressure to create raised edges that will hold the ink.
- Prepare the Plate: Clean the plate to remove any dust or oils. Smooth out any rough areas with scrapers to ensure a uniform surface.
- Apply Ink: Use inking rollers to evenly apply ink across the incised design. Ensure the ink fills in the grooves adequately.
- Wipe the Plate: Carefully wipe the surface with a cloth to remove excess ink, leaving ink only in the incised lines.
- Choose Paper: Select a suitable paper that can absorb ink well, like handmade or dampened paper, to achieve striking prints.
- Press the Plate: Place the inked plate face up on the press, lay the paper on top, and run it through the press to transfer the image.
- Reveal the Print: Carefully peel away the paper to reveal the print. Examine the textures and lines created in the process.
- Repeat if Desired: Experiment with additional prints, noting that each one may differ due to the unique wear on the plate and manual inking techniques.
- Experiment with Pressure: Adjust the pressure applied when using the burin to see how it affects line depth and texture.
- Use Quality Inks: Choose high-quality inks for richer colors and better transfer.
- Work in Thin Layers: Apply ink in thin layers for more control and detailed effects.
- Monitor Plate Condition: Regularly check the plate for wear. Replace or clean it as necessary to maintain print quality.
- Practice Patience: Allow time for each step, especially inking and pressing, to ensure optimal results.
- Document Your Process: Keep records of your techniques and changes. Reviewing these notes enhances learning and inspiration.
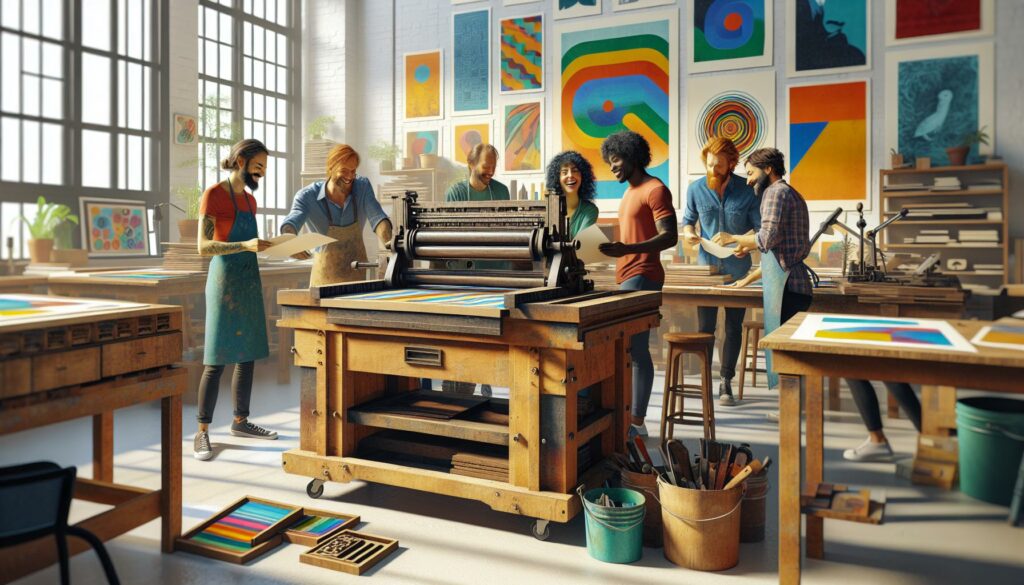
- Join a Community: Engage with other printmakers through workshops or forums for advice and feedback.
Applications And Styles
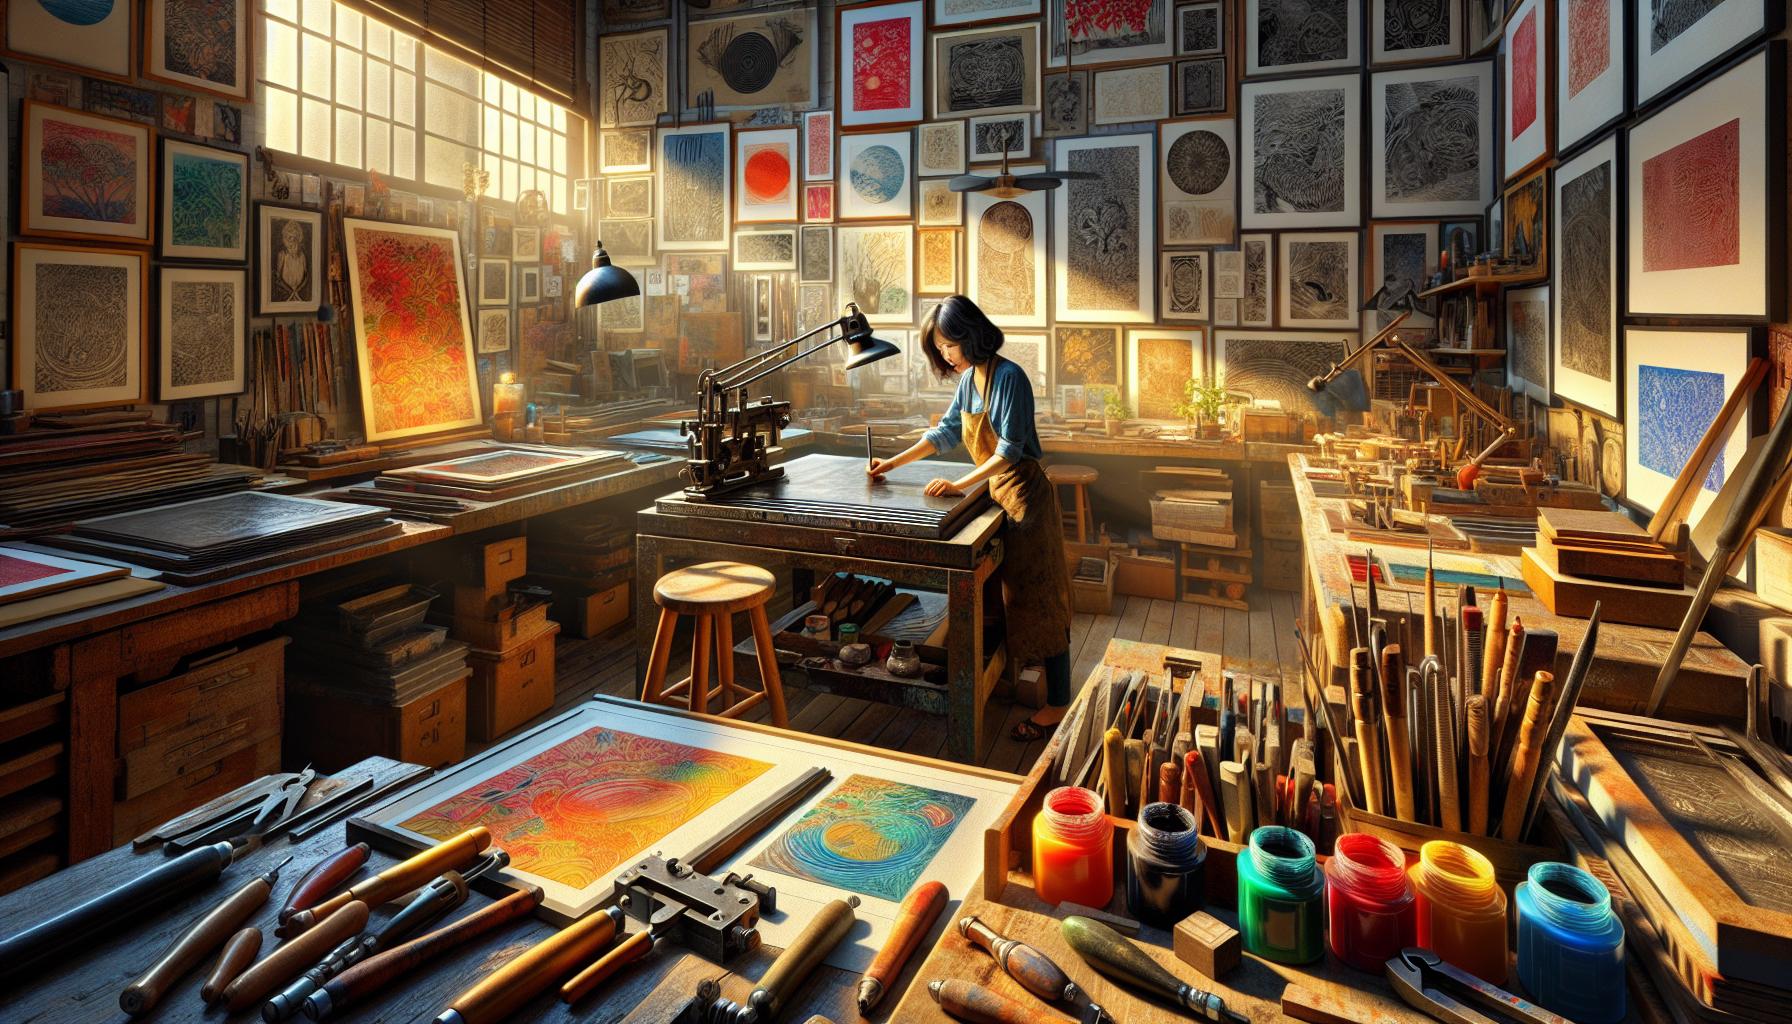
Drypoint printmaking finds diverse applications across artistic expressions, with its unique texture and depth appealing to various creators. The technique thrives in both contemporary and traditional art scenes.
Artistic Uses
Artists leverage drypoint for its ability to create distinct visual narratives. The technique’s versatility allows for exploration in various styles, from abstract and surreal to figurative and landscape art. Many printmakers incorporate drypoint into mixed media projects, combining it with lithography, etching, or monotype printmaking to enhance texture and depth. The tactile quality of drypoint prints often invites viewers to engage more intimately with the artwork, fostering deeper emotional connections. Additionally, artists utilize drypoint for limited edition prints, where the uniqueness of each impression adds value and appeal to collectors.
Historical Context
Drypoint dates back to the early 15th century, with notable practitioners embarking on this technique. Albrecht Dürer, a pivotal figure, utilized drypoint to create intricate prints that showcased his mastery of line and texture. Over centuries, artists like Rembrandt expanded the technique, experimenting with ink application and plate conditions to achieve distinct results. The evolution of drypoint through art movements, such as Romanticism and modernism, illustrates its adaptability and influence. Contemporary artists continue to explore drypoint, marrying traditional techniques with modern themes, ensuring its relevance in today’s art landscape.
Exploring drypoint printmaking has been a rewarding journey for me. This technique not only allows for personal expression but also connects me to a rich artistic history. Each print I create is a unique reflection of my vision and creativity.
I appreciate how drypoint encourages experimentation and pushes the boundaries of traditional printmaking. Whether I’m working with copper or acrylic plates the process remains deeply engaging. I believe that anyone can find joy and inspiration in this art form.
As I continue to experiment with drypoint I look forward to seeing how it evolves in my practice and how it can inspire others to delve into the world of printmaking.

